

What Tools Do You Need to Mount a Metal Floating Shelf
2026-10-09
Installing a Metal Floating Shelf can transform your space with sleek, modern storage, but the right tools make all the difference. At Olifurniture, we have helped thousands of homeowners achieve a flawless installation, and we know that preparation is everything. Whether you are a seasoned DIYer or a first-time installer, having the correct equipment ensures a secure, level, and beautiful result.
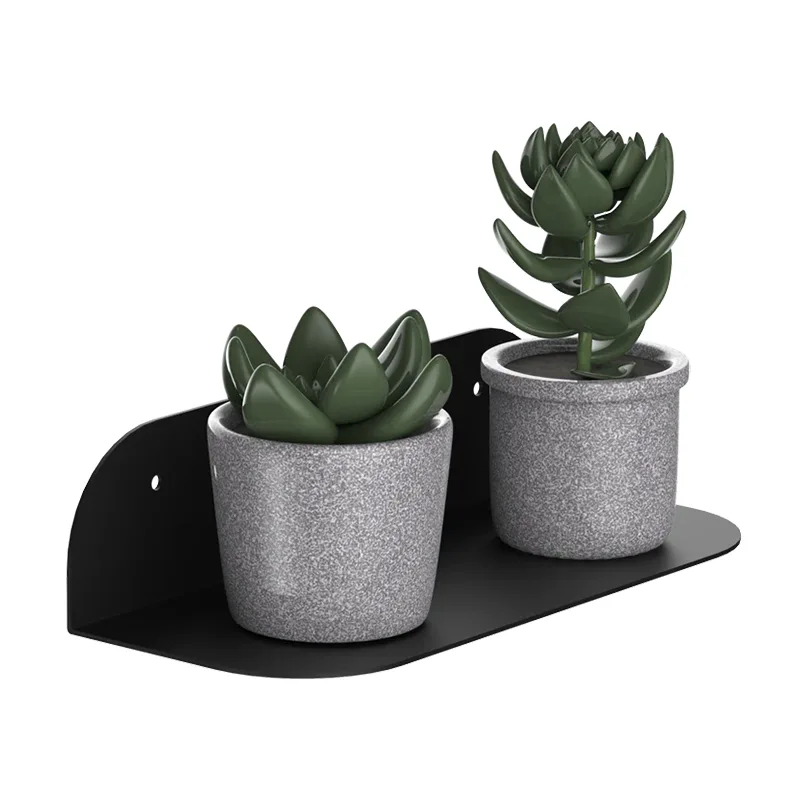
Essential Tools for Mounting a Metal Floating Shelf
Before you begin, gather the following tools. Each one plays a specific role in ensuring your Metal Floating Shelf is installed safely and precisely.
| Tool | Purpose |
|---|---|
| Stud Finder | Locates wooden studs for maximum weight support |
| Drill with Masonry Bits | Creates pilot holes in brick, concrete, or drywall |
| Level (24–36 inch) | Ensures the Metal Floating Shelf is perfectly horizontal |
| Tape Measure | Measures placement height and spacing |
| Pencil | Marks drill points and bracket positions |
| Screwdriver or Driver Bit | Tightens mounting screws securely |
| Wall Anchors | Provides extra holding power in drywall |
| Hammer | Taps anchors into place gently |
| Safety Glasses | Protects eyes from debris during drilling |
Step-by-Step Tool Usage Guide
-
Locate Studs – Use a stud finder to identify the strongest mounting points.
-
Mark Positions – Measure twice and mark with a pencil at your desired height.
-
Drill Pilot Holes – Match bit size to wall anchors or screws.
-
Install Anchors – Insert wall anchors where studs are unavailable.
-
Attach Brackets – Secure the bracket with a screwdriver or drill.
-
Check Level – Place a level on the bracket before final tightening.
-
Slide Shelf On – Mount the Metal Floating Shelf onto the bracket.
Why Tool Quality Matters
Cheap tools can strip screws, create uneven holes, or compromise the shelf's stability. Investing in a reliable drill and a sturdy level protects your walls and your Metal Floating Shelf. Olifurniture recommends using carbide-tipped bits for masonry and a magnetic stud finder for accuracy.
Safety and Material Considerations
Different wall materials require different approaches:
-
Drywall: Use toggle bolts or heavy-duty anchors.
-
Brick/Concrete: Use masonry bits and sleeve anchors.
-
Wood Studs: Direct screw installation is strongest.
Always wear safety glasses and gloves. If you are unsure about your wall type, consult a professional.
Frequently Asked Questions
Q: Can I mount a Metal Floating Shelf without a drill?
A: A drill is strongly recommended because pilot holes prevent wall damage and ensure screws go in straight. For very light shelves on drywall, a screwdriver and self-drilling anchors may work, but for a secure Metal Floating Shelf, use a drill.
Q: What size drill bit do I need for a Metal Floating Shelf?
A: The bit size depends on your anchor or screw diameter. Typically, use a bit slightly smaller than the screw for wood, and match the anchor manufacturer's specification for drywall or masonry. When in doubt, start with a smaller bit and enlarge gradually.
Q: How do I know if my Metal Floating Shelf is level and secure?
A: After tightening the brackets, place a level on top of the bracket or shelf. Gently press down to test for movement. If the shelf shifts, tighten screws or add anchors. A properly installed Metal Floating Shelf should feel solid with no wobble.
Final Tips from Olifurniture
Choosing the right tools is the foundation of a successful installation. A Metal Floating Shelf from Olifurniture is engineered for durability and style, but it deserves a proper mount. Double-check your measurements, use quality tools, and never skip the level.
Ready to upgrade your space with a premium Metal Floating Shelf? Contact us today at Olifurniture for expert guidance, product recommendations, and personalized support. Our team is here to help you install with confidence.