

How Do You Install a Door Stop Without Damaging the Floor
2026-10-29
Protecting your floors while keeping doors under control is a balance every homeowner and facility manager understands. Door stops are small hardware pieces with a big job, and when they are installed incorrectly, they can leave dents, scratches, or permanent marks on hardwood, tile, and laminate. Kamulang has spent years designing door stops that protect both the door and the surface beneath it, and the installation guidance below reflects that experience.
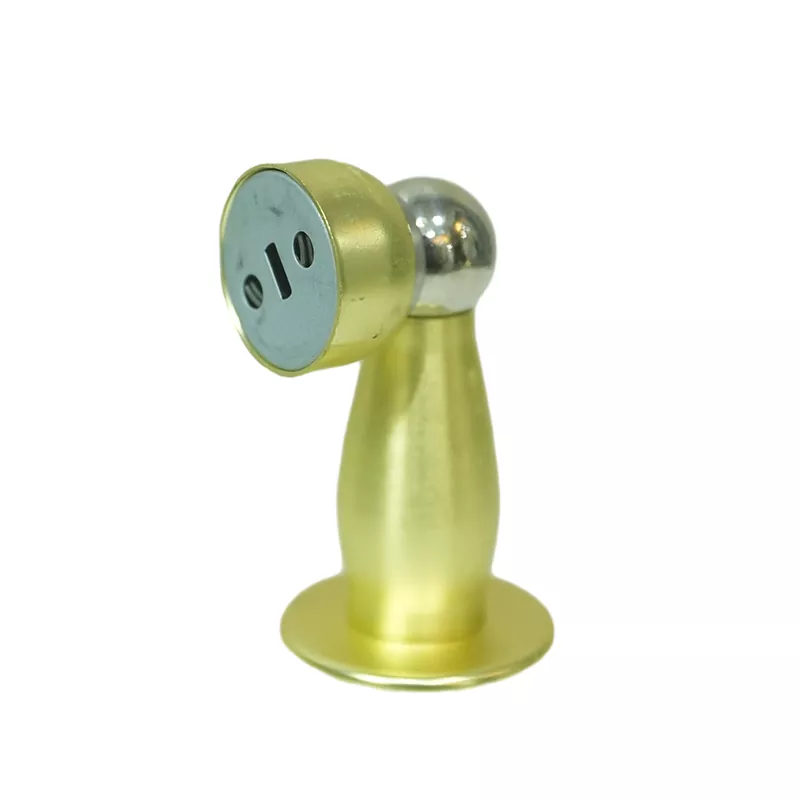
Why Floor Damage Happens in the First Place
Most damage comes from three sources: mounting hardware that sits too low, adhesives that bond too aggressively to finished surfaces, and door stops positioned where the door strikes them at an angle. Understanding these causes makes correct installation straightforward.
Choose the Right Door Stop for Your Floor Type
| Floor Type | Recommended Door Stop | Mounting Method | Risk to Avoid |
|---|---|---|---|
| Hardwood | Kamulang rubber-tipped hinge stop | Hinge pin mount | Adhesive residue |
| Tile / Stone | Kamulang wall-mounted bumper | Screw-fixed to baseboard | Drilling through tile |
| Laminate | Kamulang wedge stop | Friction, no fixing | Point-load denting |
| Carpet | Kamulang heavy wedge | Friction, no fixing | Sliding out of place |
| Concrete | Kamulang floor-mounted stop | Anchor bolt | Over-tightening |
Step-by-Step Installation Without Floor Damage
-
Mark the contact point. Open the door to its maximum safe swing and mark where the door stop should meet it. This prevents guessing and avoids repeated drilling.
-
Check for obstructions. Confirm there are no pipes, wires, or underfloor heating elements behind the mounting point.
-
Protect the surface. Place a cloth or low-tack mat beneath your work area so tools and hardware never contact the floor directly.
-
Pre-drill carefully. Use a bit slightly narrower than your screw and apply painter's tape around the hole to catch debris.
-
Use the correct fixing. Match anchors to your substrate; Kamulang supplies fixings rated for wood, masonry, and drywall.
-
Test the swing. Open and close the door several times and adjust the door stop height so the door contacts the bumper, not the floor.
-
Clean up residue. Remove tape slowly and wipe away dust with a damp cloth rather than an abrasive pad.
Common Installation Mistakes to Avoid
-
Mounting a door stop directly onto a finished hardwood floor with strong adhesive
-
Placing the stop too far from the door edge, causing the door to overswing
-
Using screws that are too long on thin laminate or engineered wood
-
Skipping the test swing and discovering contact damage weeks later
Door Stops FAQ
What is the best door stop for hardwood floors? A hinge-pin or wall-mounted door stop with a rubber tip is best, because it keeps all hardware off the hardwood surface and eliminates adhesive residue.
Can I install a door stop without drilling any holes? Yes, wedge and friction-fit door stops require no drilling, and Kamulang offers non-marking rubber bases designed for renters and temporary installations.
How high should a door stop be mounted? Mount the door stop so the bumper meets the door at least two inches above the floor, which prevents the door from levering against the surface and causing dents.
Do door stops really prevent wall damage? Properly positioned door stops absorb impact before the door handle reaches the wall, which protects both drywall and paint from repeated contact.
How do I remove a door stop without damaging the floor? Score around any adhesive with a plastic scraper, apply gentle heat, and lift slowly; Kamulang screw-fixed models simply unscrew with no surface contact.
Final Thoughts
Correct installation is the difference between a door stop that quietly does its job for years and one that leaves a permanent reminder on your floor. Kamulang builds door stops with surface-safe materials and substrate-appropriate fixings so the installation stays clean from the first screw to the final test swing. Contact us today to discuss the right door stop specification for your flooring, door weight, and traffic conditions, and our team will help you select a model that protects every surface in your property.